Getting started with Accedo
Last reviewed: 2026-05-24
Welcome to Accedo. This guide orients you on what the product does, the handful of terms you will see throughout the app, and the first three things to do once you sign in.
What Accedo does
Accedo is a hosted tool for getting written policies acknowledged by your team. You upload a PDF, pick who needs to sign it, and Accedo handles the email invites, sign-off flow, and audit trail. Recurring policies re-prompt signers automatically on the schedule you choose.
Key concepts
- Workspace (tenant)
- Your company's isolated account in Accedo. You get one when you sign up, it lives at your own subdomain (e.g.
acme.yesaccedo.com), and its data never mixes with another workspace's. - Admin
- A user who can upload policies, invite teammates, assign work, and view dashboards. The person who completes signup is the first admin.
- Signer
- A user whose job is to acknowledge the policies assigned to them. Signers sign in to a focused portal at
/signerthat lists what they owe — they do not see admin tools or other people's assignments. - Policy
- A PDF plus its metadata: title, optional tags, and an optional recurrence (annual, semi-annual, or quarterly). Each policy can have many versions over time.
- Assignment
- The link between one policy and one signer. Creating an assignment sends the signer an email with a magic link to the signing page and carries its own due date and status (pending, signed, overdue, declined).
- Sign-off
- The signer reads the policy, ticks the e-sign consent box, and confirms. This creates an immutable audit record — the title and version at the moment of signing are preserved, so later edits never rewrite history.
Your first three steps
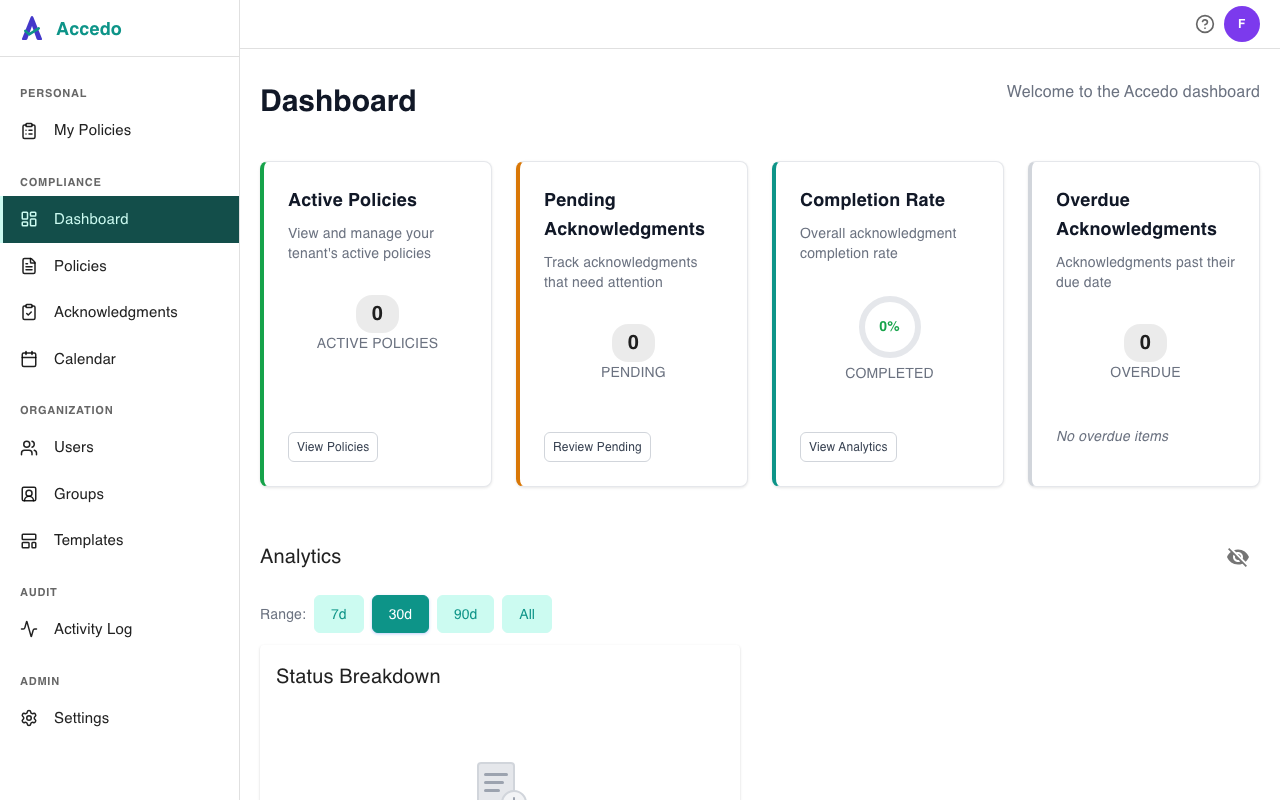
A fresh workspace starts with one user (you, as admin) and no policies, so your Dashboard's stat cards will be empty. The fastest way to make the app real is to get a small loop working end to end:
- Invite a teammate as a signer. Open Users in the sidebar and click Add User. Pick the signer role for someone you actually want to acknowledge a policy. See Users and roles.
- Create a policy. Open Policies and click Upload Policy. Give it a clear title, choose a recurrence (or leave it as one-time), and upload the PDF. Walkthrough in Create a policy.
- Assign it. From the policy's detail page, assign the signer you just invited. They receive an email with a magic link straight to the signing page — no password required for the first sign. Details in Assign a policy.
Once that first acknowledgment lands, your Dashboard fills in: Pending drops, Completion Rate ticks up, and the analytics charts have something to plot.